LCD Display
1 min gelezen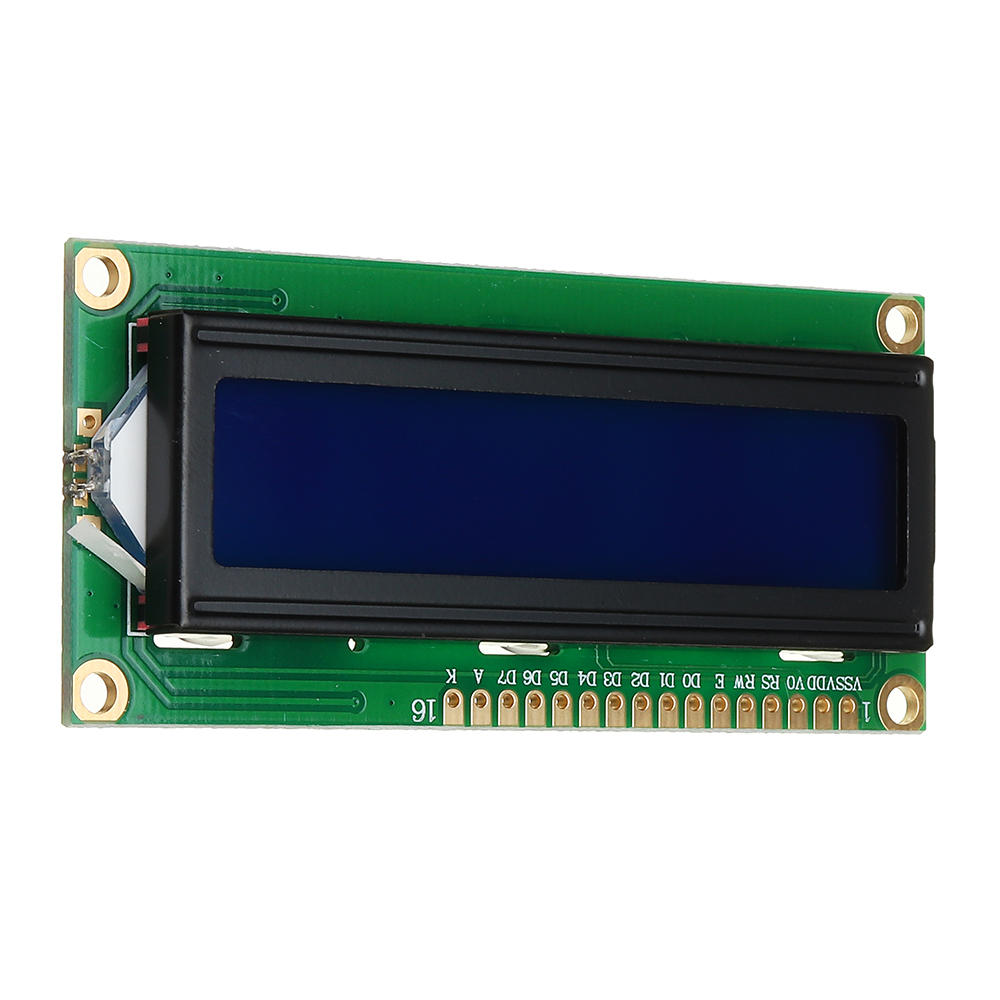
Hoe sluit je een LCD Display aan op een arduino.
Benodigdheden:
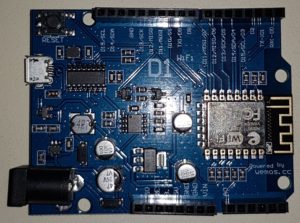
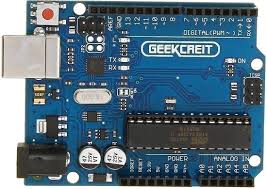
- Arduino
- LCD Display 2×16 (Compatibel met de Hitachi HD44780 driver)
- 10K potentionmeter
- Kabeltjes
- breadboard
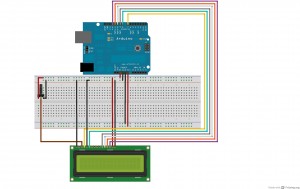
Circuit:
Om je LCD scherm aantesluiten op de arduino sluit je de volgende pinnen aan:
- LCD RS pin naar digitale pin 7
- LCD Enable pin naar digitale pin 8
- LCD D4 pin naar digitale pin 9
- LCD D5 pin naar digitale pin 10
- LCD D6 pin naar digitale pin 11
- LCD D7 pin naar digitale pin 12
Verder sluiten we een 10K potentionmeter aan op de +5V en de aarde(GND), de output gaat naar de LCD V0 pin(pin3).
Schema’s:

Code:
/*kunt de sketch hier downloaden.
Project 'LCD Display'
Project details at https://www.kalkhaar.nl/lcd-display/
Author 'Marcel Kalkhaar'
Permission is hereby granted, free of charge, to any person obtaining a copy
of this software and associated documentation files.
The above copyright notice and this permission notice shall be included in all
copies or substantial portions of the Software.
*/
#include <LiquidCrystal.h>
LiquidCrystal lcd(7, 8, 9, 10, 11, 12);
const int ledPin = 13;
int thisCount = 0;
void setup() {
// Setup the LCD Display
lcd.begin(16, 2);
pinMode(ledPin, OUTPUT);
// Print 'Kalkhaar' to lcd on row 1
lcd.setCursor(3,0);
lcd.print("Kalkhaar");
}
void loop() {
thisCount++;
lcd.setCursor(3,0);
lcd.print("Kalkhaar");
delay(1000);
// Blink second row
if (thisCount == 1) {
lcd.setCursor(0,1);
lcd.print("Test LCD Display");
}
if (thisCount == 2) {
lcd.setCursor(0,1);
lcd.clear();
thisCount = 0;
}
}

Originele post op bliksemsnel.net maar verhuisd naar kalkhaar.nl